October Tie Focus Lessons - Pentagram Harness and X Harness
Share
October Focus Lesson: X‑Style Front Chest Harness & Goat Pentagram Harness (Shibari)
Tie overview (October 2025 lesson)
This month, we explore two decorative front‑of‑torso harnesses built for floor play and photos. Start with the X‑style chest harness (simpler, faster), then try the Goat Pentagram harness (a star/pentagram motif framed on the chest). Both ties work with a single 8 m (26.3 ft) length of 6 mm Ogawa jute, keeping the bottom on the floor (no suspension), and emphasize clean rope handling, breathable chest bands, and tidy crossing hitches to lock patterns in place.
With your foto or mermaid (sept), you can tie the whole body! Keep it up everyone!
Main Tie Inspiration - Rory's Brain Works
-
X’s in the Front Chest Harness Tutorial (YouTube): https://www.youtube.com/watch?v=-UwhNbVNlp4
-
The Goat Pentagram Harness (YouTube): https://www.youtube.com/watch?v=3oYnh_ubk_g
Your level
-
Novice: Foundational elements & terminology
-
Beginner: Main tie walkthrough (X‑style)
-
Intermediate: Main tie walkthrough (Pentagram) + simple variations
-
Advanced: Creative applications, framing, and integration with other harnesses
Materials
-
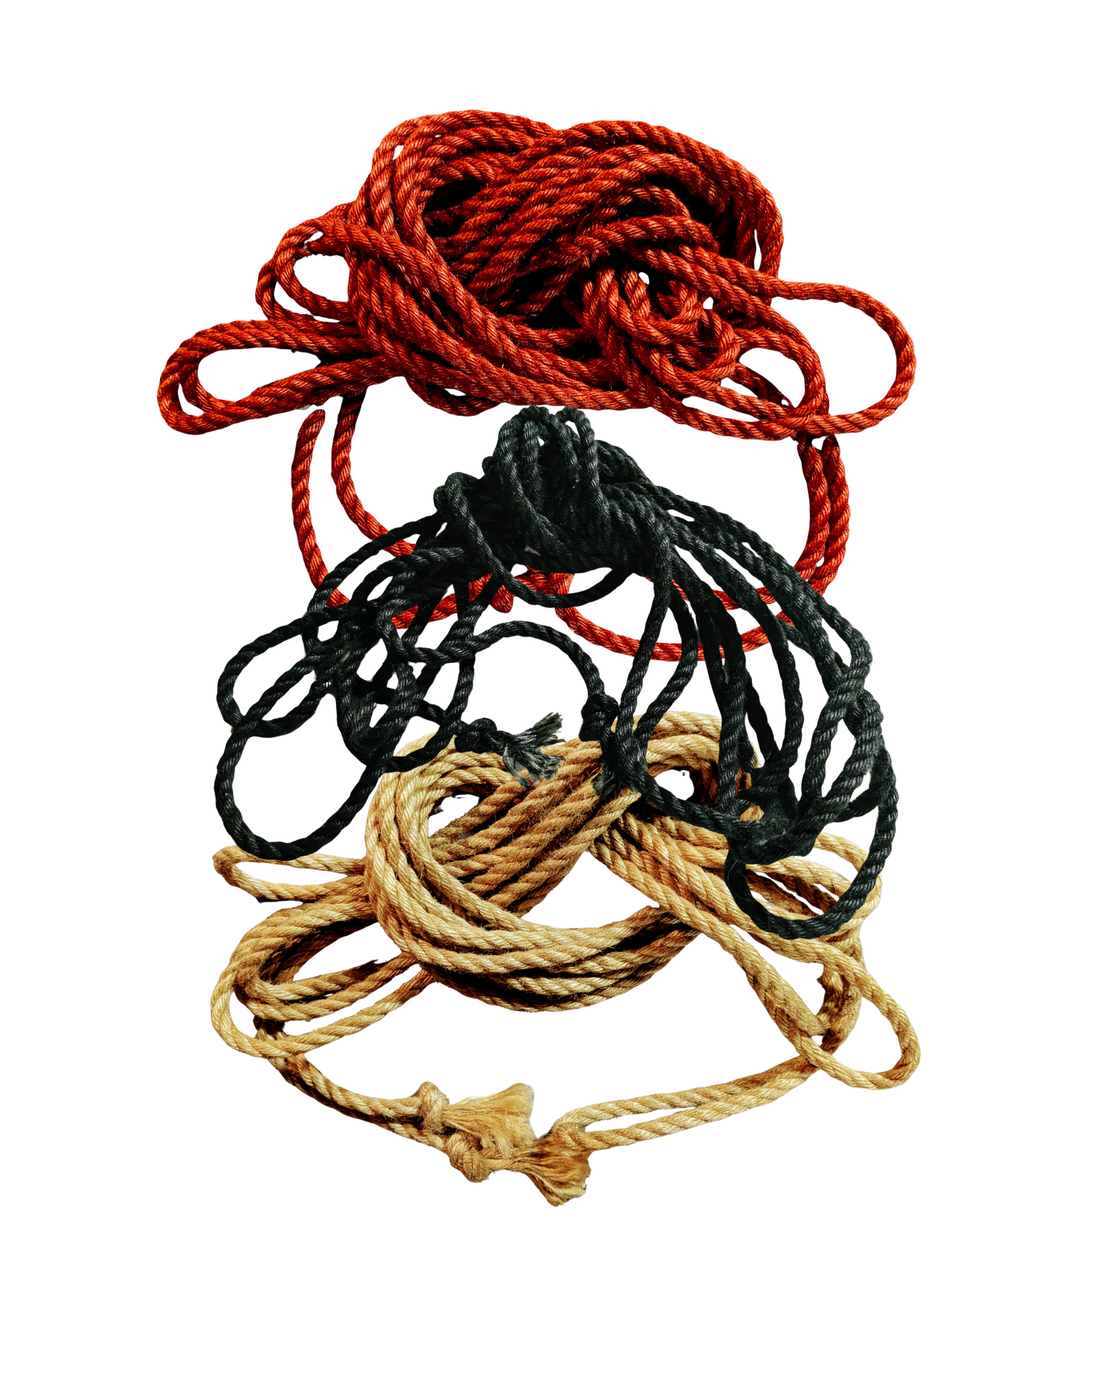
Rope: 1 × 8 m (26.3 ft) 6 mm Ogawa jute (Shibari Circus) per tie
-
Safety shears/trauma shears within reach
-
Mirror (optional for self‑tie), hair tie, and a soft layer between rope and sensitive skin
Foundational elements
Rope terms & handling
-
Bight: Middle of your rope. Many ties start by placing the bight where the rope first contacts the body.
-
Working ends: The two ends opposite the bight you’ll route around the body.
-
Single‑column tie (SCT): A non‑cinching tie used to anchor on a limb or to a harness band without tightening on the body.
-
Single column tie with a Somerville bowline knot- Silent Teddy Bear https://www.youtube.com/watch?v=jbsxl__1OBA
-
They Duchy https://www.theduchy.com/somerville-bowline/#core-technique-quick-overview
-
Crossing hitch (a.k.a. Munter/cross‑friction): A compact friction used wherever ropes cross to stop them from sliding and to sharpen patterns (you’ll use these at the center of the X and at pentagram crossings).
-
Munter hitch: This friction locks the tension stronger then a full stop and looks wonderful when layered together.
-
Rory’s Brain works
-
Dress as you go: Flatten twists, keep wraps parallel, and lay rope along muscle rather than bone or soft‑tissue hollows.
-
Double‑column tie: A double‑column tie binds two limbs (for example, two wrists or a wrist and ankle) together. Wrap the bight around both columns twice, leaving extra slack. Cross the bight over the working ends at the top and center of the columns and pass it between the columns and behind both sets of wraps. Make loops with the working ends and pull the bight through to form knots. The finished tie should be secure but loose enough to slide two fingers under the ropes.
-
The Double Column Tie Tutorial - (Shibari / 緊縛 at Kinetik Speicher) https://vimeo.com/420519084
-
Hojo cuff: A hojo cuff is a simple inline single‑column tie used to restrain limbs. It originates from hojojutsu and is essentially a single‑column tied in line with the standing end. The cuff will collapse if the standing end is pulled, so you must return along the same path and tie off to secure it. The mermaid tie uses a hojo cuff to lock the ankles together before wrapping the legs.
-
BondageTuition
Chest‑specific safety
-
Leave breathing room. Chest bands should allow full inhalation; you should be able to take a deep breath comfortably.
-
No neck encirclement. Keep ropes off the front of the throat. If you frame the collarbones, route rope across the top of the shoulders or behind the neck with clear slack and never load it.
-
Space under rope: Aim for two‑finger room for starting bands; adjust tension gradually.
-
Time & monitoring: Check in often. Tingling, numbness, pins‑and‑needles, dizziness, or chest tightness = untie immediately.
-
Joint comfort: When routing under armpits, avoid digging into the axilla; prefer paths over the pecs/lats with broad contact.
Walkthrough A — X‑Style Front Chest Harness (Beginner / self‑tie friendly)
Goal: A clean chest band with two diagonals forming a bold X on the sternum.
Setup
-
Find the bight and check your rope for twists. Stand or sit upright with shoulders relaxed.
-
Place the chest band level: Start under the pecs/breast tissue (or just above, if that’s more comfortable). Keep rope off the throat.
Step‑by‑step
-
Build a chest band (2 wraps).
-
From the bight at the sternum, take the working ends around the torso and back to the front for a second parallel wrap. The two bands should sit neatly stacked.
-
Lock the band: On the side (not the sternum), tuck one working end under both wraps to create a small half‑hitch or use a compact SCT around the band to keep it from loosening.
-
Create the first diagonal.
-
Take the left working end up and across the chest toward the right lower band, forming the first stroke of the X.
-
Pin with a crossing hitch where the diagonal meets the band so it won’t slide.
-
Create the second diagonal.
-
Take the right working end up and across toward the left lower band, forming the second stroke of the X.
-
Crossing hitch at the center where the diagonals meet for a crisp, fixed X. Keep breathing room.
-
Frame and finish.
-
Route both working ends around to the back along the existing chest band. Add a third chest wrap if you have rope.
-
Tie off on the side/back with two half hitches or a square knot onto the band. Tuck tails neatly.
Checks
-
Take a deep breath—bands should expand slightly without biting.
-
The center X should be crisp and not migrate when you move.
-
No rope presses the throat; no hotspots in the armpits.
Quick variations
-
Double‑X: Repeat diagonals to stack a smaller X above or below.
-
Ladder lacing: Weave a simple ladder between diagonals for texture.
-
Shoulder frames: Route over each shoulder and back to the chest band (keep throat clear and tension light).
Walkthrough B — Goat Pentagram Harness (Intermediate)
Goal: A five‑point pentagram motif centered on the chest, framed by chest bands. This is decorative floor rope, not suspension.
Setup
-
Base chest band (2–3 wraps). As in the X tie, build a snug but breathable band under the pecs/breast tissue. Lock it on the side.
-
Find your center: Mark the sternum as the visual center where lines will cross. Keep pattern symmetric.
Step‑by‑step (one‑rope, continuous line approach)
-
Anchor at center. From the front center of the chest band, take a short bite of rope upward a few centimeters and make a tight crossing hitch to create a fixed “hub” for the star.
-
Top point. Route a working end upward toward the upper‑chest/clavicle line (do not tension across the throat). Pin with a small crossing hitch to the chest band/shoulder frame, then return toward center.
-
Lower right point. From center, angle downward to the right side of the lower chest band and pin with a crossing hitch; return to center.
-
Upper left point. From center, angle upward to the left shoulder/chest line (mirroring step 2); pin; return to center.
-
Lower left point. From center, angle downward to the left side of the lower chest band; pin; return to center.
-
Upper right point. From center, angle upward to the right shoulder/chest line; pin; return to center.
-
Complete the star path. As you lay each segment, cross at the center and add a tiny crossing hitch to keep the lines locked. Maintain even tension so the star stays sharp.
-
Frame & finish. With remaining rope, run a final framing wrap around the chest band (or a gentle shoulder frame) to enclose the star. Tie off at the side/back onto the band with two half hitches or a square knot. Tidy tails.
Notes & tips
-
Think of drawing a five‑point star with one continuous line, locking each crossing so the geometry holds.
-
Keep all crossings on the sternum hub to accent the pentagram.
-
If rope is short, prioritise clean star lines and a single framing band.
Checks
-
Full inhalation is comfortable; star lines do not tighten the chest.
-
No line crosses the throat; shoulder lines (if used) are slack and decorative.
-
Pattern sits centered and symmetric; crossings are immobile.
Quick variations
-
Outer ring: Add an extra torso band to frame the star.
-
Inverted pentagram: Mirror the order of points to flip the star orientation.
-
Decor weaves: Ladder or herringbone weaves inside the star’s triangles.
Practice plan (both ties)
-
Drill the crossing hitch 10–15 times on two parallel ropes so it’s second nature.
-
Band control: Practise laying two perfectly parallel chest wraps without twists; add/remove tension gradually.
-
Symmetry exercise: Tie the X and pentagram in front of a mirror, adjusting crossings until they stay centered during arm movement.
-
Photography check: Small adjustments to spacing and line angles dramatically improve the look—dress the rope for clean geometry.
Troubleshooting
-
X keeps drifting: Add a crossing hitch at the center and at each diagonal’s anchor to the chest band; increase friction.
-
Bands ride up: Lower the entire harness 1–2 cm and widen the band (add a wrap). Avoid steep angles into the armpit.
-
Pentagram looks squashed: Shorten the top point slightly and lengthen lower points; keep all center crossings stacked.
-
Running out of rope: Skip extra framing wraps and focus on clean primary lines.
Safety disclaimer
This lesson is for educational use only. Always prioritize consent, communication, and safety. Keep a cutting tool within reach. Monitor circulation, nerve response, and breathing throughout. Avoid neck encirclement and do not suspend from these ties. Untie immediately if you experience pain, numbness, dizziness, or chest tightness. Shibari Circus LLC and the author assume no liability for injuries or damages resulting from misuse of this material.